
Camp craft: DIY resin pendant necklaces

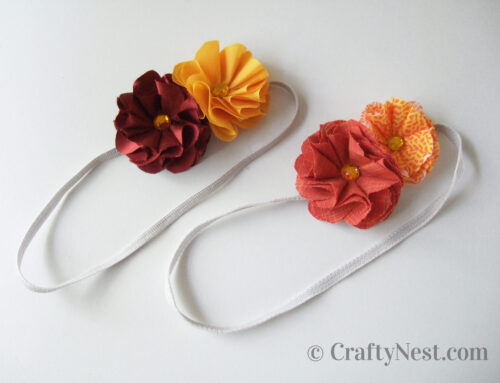
These resin pendant necklaces are the final craft that we made at girls camp last June. (I planned one more craft that we didn’t have time for in the end: yo yo headbands and pins. You can see that tutorial here.) I’d always wanted to try crafting with resin. The results are rewarding, but it takes a lot of supplies, time, and effort. More on that later. (This post contains affiliate links. If you use these links to buy something, I may earn a small commission. You can read my full disclosure here.)
These pendants were inspired by Bethtastic’s amazing photo necklaces on Etsy. Update 2/8/21: Bethtastic’s shop is now closed. Four of her beautiful resin pendants are shown below.

We chose something from nature or created a scrapbook-paper design to embed in the resin. The girls embedded blossoms, leaves, twigs, bugs, and spiders. One girl even put the tick that had been removed from her body in her pendant. Sweet revenge. And some girls embedded their .22 shells saved as souvenirs from shooting at the camp rifle range.

Although the girls loved the pendants, I wouldn’t recommend this as a camp craft. Four reasons: 1) The process is quite involved and doesn’t lend itself to group participation, 2) It requires some special tools, 3) Cold weather delayed the typical 24-hour cure time, and 4) The end result was unpredictable. Almost everything from nature floated out of place and changed color (usually yellow or brown), some more dramatically than others. It became a science experiment to see how each pendant would turn out.

A special thank you to my lovely and talented sister-in-law, Devon, who single-handedly taught the girls how to wrap the wire (or did it for them) and attach their ribbons and cords.
How to make resin pendant necklaces
SUPPLIES
TOOLS
INSTRUCTIONS

Because I learned how to do this on YouTube, I thought it best to share those videos with you instead of doing a step-by-step tutorial myself. (Not to mention save myself a lot of work!) These are the best resin jewelry videos that I found. Enjoy!
2/8/21 Updates:
- The primary four-part resin-mold video that I used for this project has since been made private on YouTube. The three-part resin video using pendant plates is still available, as is the video explaining how to drill resin. Those videos are below, along with a few more good ones I found recently.
- The molds I used are not available anymore either, but you can now buy resin molds with holes built in, so you can skip the drilling step.
- The resin I used (see photo) turned yellow. I have since learned that there are better non-yellowing resins available, such as ArtResin or Art ‘N Glow.
- For the life of me, I cannot remember why we needed a crock pot. (I did post this 11 years ago!) It must have been used in some process from the missing videos.
USING PENDANT PLATES (3 PARTS)
HOW TO DRILL RESIN
TIME LAPSE: POURING & DEMOLDING
HAND DRILLING & WIRE WRAPPING RESIN JEWELRY
FAIRY PENDANTS MADE FROM DRIED PLANTS & EPOXY RESIN

Share this story
Reader Gallery
Made this project? Email your photo(s) to monica (at) craftynest (dot) com, and I’ll share your version here!
Leave A Comment