DIY tank top totes: six pockets or gathered

Before you pack away your summer clothes for the winter, you might want to set one of your tank tops aside to make one of these easy totes. The best kind of tank tops to use for this project are ones that have front and back necklines that are the same height — or very close. Otherwise, your tote bag will be lopsided. (This post contains affiliate links. If you use these links to buy something, I may earn a small commission. You can read my full disclosure here.)
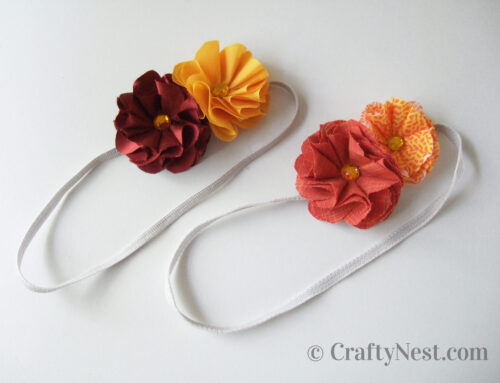
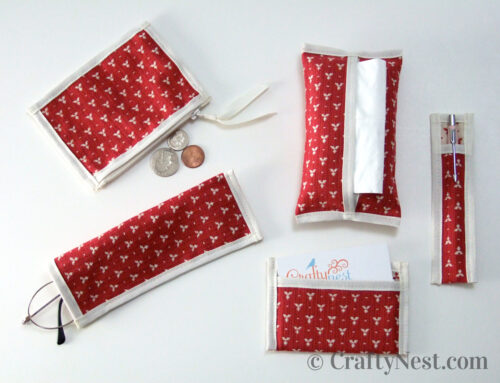
The brown tote is reversible, so the pockets can be on the inside or outside. I made that tote small because the straps were thin and wouldn’t hold a lot of weight. The magenta tank top had a gathered neckline in front and back, so a gathered bottom was ideal. A pink store-bought flower pin finished it off. Check out what I made with the fabric scrap that I cut off the bottom.

How to make a tote bag out of a tank top
SUPPLIES & TOOLS
SIX-POCKET TOTE INSTRUCTIONS

1. First remove the tags with a seam ripper or scissors.

2. Turn the tank top inside out.

3. If your tank top has a bra liner, cut the elastic off the bottom of it.

4. Fold so that the straps lie on top of each other.

5. Fold the bottom of the tank over itself. This will become the pockets.

6. Pin in place, making sure the seams line up. Mark where you want the seams in between each pocket with pins or an erasable fabric marker.

7. Using a stitch that stretches with knit fabric, such as the triple straight stitch, sew the seams that divide each pocket. Make sure the bra liner is lying flat before sewing. Back-stitch to lock the seams.

8. Sew the bottom together about ¼ inch from the edge. Back-stitch to lock the seam.

9. Turn the tote bag inside out so the pockets will be on the inside—or leave it as is.
GATHERED TOTE INSTRUCTIONS

1. First remove the tags with a seam ripper or scissors.

2. Fold so that the straps lie on top of each other. Measure and mark where you want the seam to be. I placed mine five inches from the bottom of the tank top.

3. Baste two rows (about ¼ inch apart) along the line you marked. Do not back-stitch. Then pull the bobbin threads tight as you slide the fabric inward to gather it. Then use a straight stitch with a shorter stitch length and sew between the two basted seams. Back-stitch to lock the seam. Pull out the basted seams.

5. Cut off the excess fabric about ½ inch past the seam.

6. Turn the tote bag right-side out. Pin on your flower(s) wherever you wish.

Share this story
Reader Gallery
Made this project? Email your photo(s) to monica (at) craftynest (dot) com, and I’ll share your version here!


Leave A Comment