
DIY colorful, funky lampshade

While shopping at West Elm several years ago, I came across a capiz table lamp (see below), and thought, “I could make that.” But I didn’t want to make it exactly the same. The brown color wasn’t my favorite aspect of it. Besides, where would I get capiz shells? I decided my lampshade would be multicolored. It came out a bit funky, in my opinion, hence the name. This is how I did it.

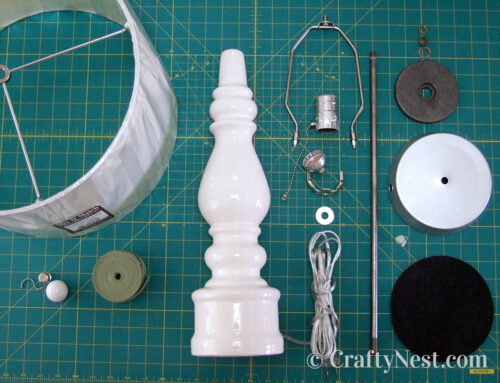
Procuring a lamp base was easy. This one was a leftover prop from one of Sunset magazine’s idea houses. It’s perfect because it has a straight candlestick base and a pull chain, but any table lamp with a narrow base will work.
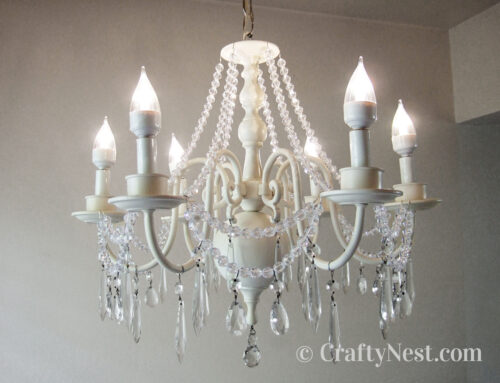
I remade this lampshade in all white, which is more my style, a couple years later. Click here to see how it turned out.

Above is the inspiration for this project: West Elm’s capiz table lamp (no longer available). I didn’t know where to buy affordable capiz shells, so I hunted for a similar material. I ended up laminating rice paper. Be aware that colored rice paper will fade over time.
I experienced a few false starts when it came to stringing the circles together.
First, I tried fishing wire and dabs of hot glue. Too time-consuming. Who wants to see globs of hot glue anyway? Then I used Glue Dots to adhere two circles back-to-back with fishing wire sandwiched in between. The light didn’t penetrate two layers as well as one. Next, I tried sewing them together by hand. A bit time-consuming as well, but it looked good. Ultimately, I sewed them together by machine. So much faster and better.
My first DIY projects appeared in Sunset magazine’s now defunct blog, Home By Sunset. This post is an updated version of “Making a funky lampshade, part 1-2,” originally published July 2007.
How to make a funky lampshade
SUPPLIES
TOOLS
INSTRUCTIONS

1. I bought a cheap lampshade at Target, then removed the paper shade. The adhesive left behind proved to be difficult to remove from the top ring. After trying several methods unsuccessfully, I rubbed a cotton ball soaked with lighter fluid on the ring, and the gooey gunk finally came off. Then I washed the ring in soap and water to remove the lighter fluid.
This was such a laborious process that I thought I’d find a supplier of what they call “slip uno top rings” to save us all some trouble. You can buy them, but they’re ugly. Most are half unfinished and half gold-plated. I spent weeks searching online, driving around town, calling and emailing manufacturers for a chrome top ring — without success. So I suggest finding a lampshade with a pretty top ring and rip it apart — or spray paint an ugly one.
Tip #1 If you’re into the work, strip the lampshade’s bottom ring as well and make a mobile out of it.

2. I punched circles in three sizes (1-, 1¼-, and 1½-inch) in sheets of laminated rice paper. Rice paper comes in beautiful colors, and it’s pleasingly translucent. But rice paper is thin and flimsy, so it needs to be laminated.
Tip #2 Hold the punch upside-down so you can see the piece that you’re punching.

Tip #3 I laminated three 24×36-inch sheets — one in each color — but I used less than half of each. Because lamination is charged by the square foot, I recommend laminating only a 16×24-inch piece of each color.

3. After I punched several circles, I laid them out in strands of nine circles in a small-medium-large arrangement, alternating the colors in a purposefully random pattern. Anyway, it was like trying to foil an opponent at Connect Four. I sewed the strands of circles together with my sewing machine. The length of your strands depends on how tall you want your shade to be — then double it. It took me about three minutes to sew each strand. I made 30 strands, which makes a total of an hour and a half to sew them all.
Tip #4 Back-stitch the first and last circles. Just a few stitches will lock the thread in place.
Tip #5 Use your machine’s longest stitch length for fewer holes and faster speed.
Tip #6 Feed each circle through with one hand and gently pull the strand through with the other. This will keep the circles from bunching too closely together.

4. At first I tried tying each strand onto the wire by hand, which was tedious. So I made each strand twice as long, folded it in half, and draped it over the wire. This was by far the easiest part of the project. Then I spaced each strand out evenly.
Tip #7 To get the circles to lie flat, bring every other strand to the outside. (I realized this after I took the picture.)
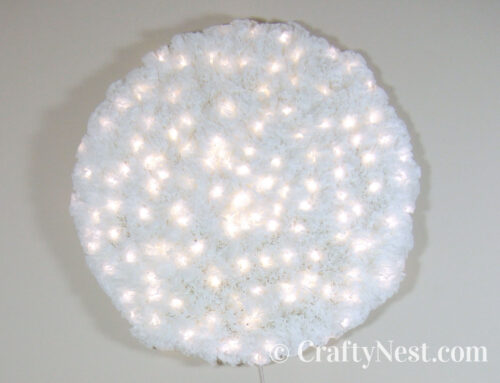
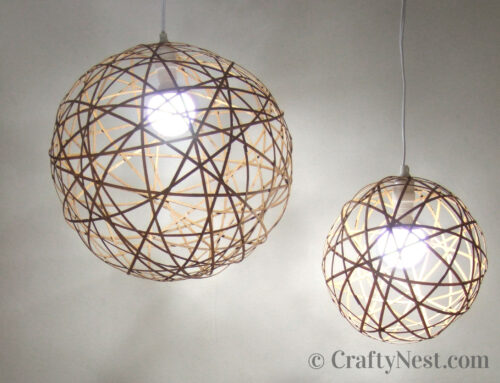
5. I inserted an LED bulb, pulled the chain, and watched it glow.

Share this story
Reader Gallery
Made this project? Email your photo(s) to monica (at) craftynest (dot) com, and I’ll share your version here!
Leave A Comment