
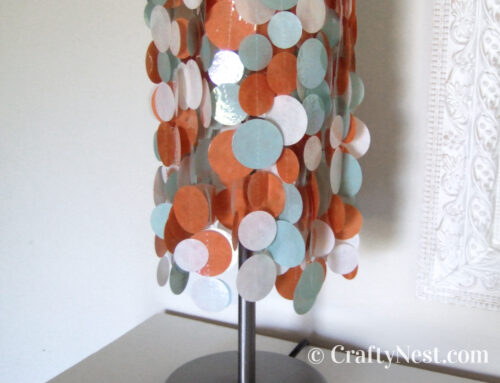
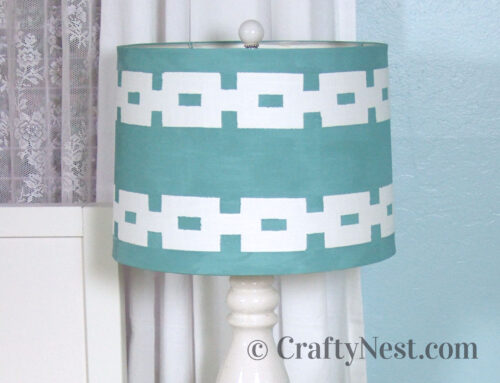
DIY fabric-covered lampshade & ball finial

I got this lamp for free from two sweet ladies on Craigslist. I love the base, but the shade had seen better days. I couldn’t find the perfect replacement, so I made my own. And I’ve been obsessed with round finials — which can be pricey. I figured out how to make one for 25¢ plus paint! By the way, I don’t like gold — gold jewelry, brass furnishings, gold lame…you get the picture. I planned to spray paint the bottom of this lamp a different color. Then I found this fabric, and suddenly the gold worked for me. Go figure. (This post contains affiliate links. If you use these links to buy something, I may earn a small commission. You can read my full disclosure here.)


How to make a fabric-covered lampshade
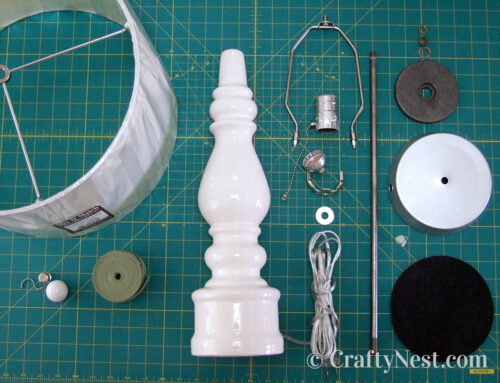
SUPPLIES
TOOLS
INSTRUCTIONS

1. Cover your work surface with butcher paper, then lay your fabric wrong side up. Place the lampshade in the middle and roll from end to end (it rolls in a semi-circle pattern) to determine if your piece of fabric is big enough to cover the shade. (You can also use this method to create a paper pattern with butcher paper, which wouldn’t require the trimming described below.)

2. Spray the middle section of the fabric with adhesive, then place the shade on top. Roll the shade and smooth the fabric. Continue spraying, rolling, and smoothing until the shade is covered and the excess fabric meets at the lampshade’s seam.

3. Trim the excess fabric so that one side overlaps about 1 inch. Fold over that side and glue down.
4. Trim the top and bottom edges about 3/4 inch longer than the shade. Fold the edges over the edge of the shade and hot glue to the inside.

5. Starting at the seam, hot glue your trim along the top and bottom edges of the shade. Glue a few inches at a time using a thin solid line of glue. Overlap the trim about 1/2 inch at the seam. Dab the ends with craft glue to keep them from fraying.
How to make a ball finial
SUPPLIES
INSTRUCTIONS

1. Place the wooden ball on a drop cloth (outside). Spray one coat of primer, and let dry. Flip it over and spray the other side. Let dry. Likewise, spray two coats of paint on each side, letting it dry between coats.
2. After the paint dries for several hours, attach the ball to your lamp’s original finial. The brass finial from my lamp fit perfectly into the hole of the ball. All I had to do was press them together for it to fit snugly. Depending on the size of your finial, you may have to glue it—or buy a new finial. This one might work.

Share this story
Reader Gallery
Made this project? Email your photo(s) to monica (at) craftynest (dot) com, and I’ll share your version here!

These are some fabric-covered lampshades that Lúcia at Fazemos de Conta made after reading Crafty Nest’s before-and-after category. And she’s been busy making more!

Marianne at Noces de Coton covered this 1€ second-hand lampshade with fabric from Fabricworm.
Leave A Comment