Two drawers were left over from my modular bookcase project. I didn’t think they’d be useful for anything but firewood. But upon closer inspection, I began to appreciate the aged beauty of the wood—even the smattering of white paint. Combining the drawers into one shadowbox—and not painting it—was a great way to showcase the wood’s character and history. Thanks again to my favorite neighborhood woodworker for cutting the pieces.
Supplies and tools
1. Disassemble one of the drawers. Start by hammering the sides loose, then hammer the nails through from the back side. Removing all the nails is challenging, but not impossible.
2. Measure the assembled drawer and sketch how many cubbies you want your shadowbox to have. Make a list of the pieces you will need with their dimensions.
3. Gather and measure all the side pieces from the disassembled drawer. Make sure you have enough wood for your plan. (I didn’t have enough, so I found a piece of wood at a salvage yard that matched. It cost me $1.) Measure and cut them to size.
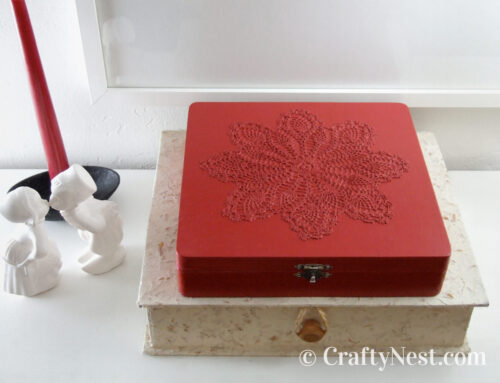
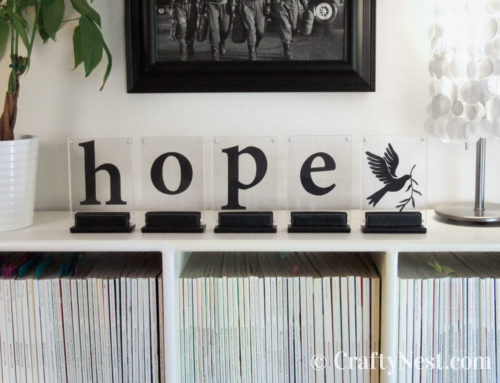
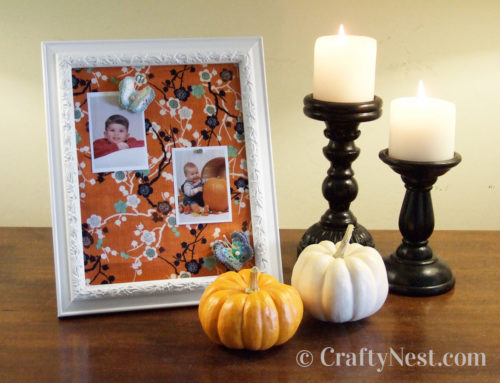
4. Round up all the knick-knacks you plan to display and lay out your arrangement using the cut pieces. Confirm that everything fits as planned. Adjust as needed.
5. Mark with a pencil where each shelf should be placed. Remove and set aside all the tchotchkes.
5. Attach the smaller pieces to the larger pieces with a hammer and nails. I used three nails to attach each board. Assemble the entire grid of cubbies.
6. Nail the grid into place from the outside of the drawer. (I used old nails from a salvage yard that matched the original ones for a more authentic look.)
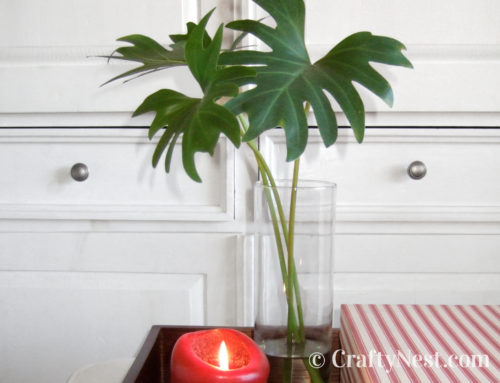
7. Now all you have to do is fill it with your tchotchkes. Optional: To hang it on the wall, attach sawtooth hangers or keyhole fasteners to the back.
RSS feed for comments on this post · TrackBack URL
“Have nothing in your homes that you do not know to be useful and believe to be beautiful.” -William Morris (1834-96)
April 15, 2009 at 8:14 pm
Wow, Monica! You have done it again! Way to think green…and rustic – I like it! : )
April 15, 2009 at 10:13 pm
Hi ,
I just stumbled upon your site from another blog. This is amazingly creative ..and not to mention “green”.
Have added you to my daily read now.
Thanks
-Aswathy
April 16, 2009 at 12:37 am
Fab-u-lous!
How clever are you??
April 16, 2009 at 1:59 am
This is my favorite DIY craft blog. I have been here over and over again for the past 6 weeks..
Keep up the good work!
April 16, 2009 at 2:05 am
It turned out beautifully! This is a seriously great blog – only problem is that I want to do every project you’ve posted in addition to my own. Might have to quit my day job to get around to doing everything lol!
Thanks for sharing your projects!
Trudi
April 16, 2009 at 3:17 am
This is a fantastic idea – filing it away under “must do as soon as I have two old drawers”. V. cool.
April 16, 2009 at 6:26 am
Lovely! Thank you for sharing your ideas!
April 16, 2009 at 4:59 pm
Another excellent tutorial! I am so glad I found your blog. You always provide very good content and sound, useful ideas.
April 16, 2009 at 9:08 pm
Wow, it looks fantastic! Way to reuse, I just love this! I’ll be linking.
April 17, 2009 at 5:37 am
Awesome! Good job!
beautifullyused.com » Old made New said,
April 18, 2009 at 3:11 am
[...] Craftynest adds up 2 salvaged drawers = 1 rustic shadow box: [...]
April 18, 2009 at 10:50 am
I LOVE this idea. Fantastic.
April 18, 2009 at 11:07 pm
How clever! Its amazing what we can re-purpose when we use a little ingenuity. Your site is full of wonderful ideas!
April 20, 2009 at 8:15 am
Love this! What a nifty idea!
April 23, 2009 at 1:40 pm
Gorgeous project–I love little cubbies–I may have to try that!
April 24, 2009 at 11:27 am
I love it!
May 21, 2009 at 10:27 pm
After reading your modular bookcases post, I found this one. I just exclaimed “this is SO COOL!” while studying your photos. Thanks for yet another wonderful idea!
January 27, 2010 at 3:51 am
I’m so glad I found your blog through Maya at Completely Coastal. I love this idea, it looks wonderful!
Kat :)
Öncesi ve Sonrası Uygulamaları | ÖREN BAYANLAR said,
June 25, 2010 at 4:17 am
[...] beğendiğim olduğunu belirtmeliyim. Eski çekmece kapaklarından, böyle minik raflı, hoş bir depolama elde edilmiş. Evde eskimiş, paslanmış bir çiçek standınız var mı? İşte bu stand üzerine bir tabla [...]