
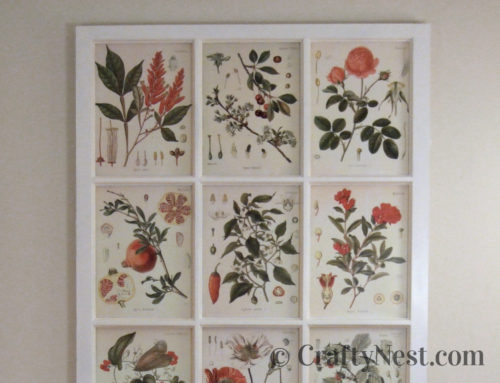
Salvaged window = DIY shadowbox frame

Why anyone would paint over window panes is beyond me. But that’s exactly what someone did to this window that I bought at a salvage yard for $20. It took a couple hours to scrape away all the stray paint and caulking, but the effort was totally worth it, considering I now have a fun beach-themed shadowbox. I tore all the tropical photos out of travel magazines. I can think of many other uses for salvaged windows, so there might be more window projects to come.

How to make a shadowbox window frame
SUPPLIES
TOOLS
INSTRUCTIONS

1. Using a paint scraper, remove all the stray paint and caulking. Vacuum up the paint dust and scrub the window clean.

2. OK, now I know why a lazy painter would skip this step. Taping off each window pane is tedious (but necessary) work. The fastest and most precise method is to tape all four sides of one pane letting the excess tape overlap, trim each end with an X-Acto knife, then move to the next pane.

3. Fill and sand holes, as necessary. Wipe clean. Paint one coat of primer. Let dry. Paint two coats of paint. Let dry overnight. Flip it over, and repeat on the other side.

4. Carefully peel off the tape when the paint is dry.

5. Using a utility knife, metal ruler, and self healing mat, measure and cut a large piece of cardboard to fit the opening in the back of the window. I got this large piece of cardboard from Freecycle.

6. Iron a piece of fabric that’s large enough to cover the front of the cardboard and wrap around the edge at least an inch.

7. Wrap the fabric around the front of the cardboard. Tape the overlap to the back with masking tape.

8. Insert the fabric-wrapped cardboard into the window to make sure it fits. Lay on your work surface and arrange your photos and memorabilia as desired. Then move the window aside.

9. Using double-sided mounting tape, affix the photos and other items in place.

10. Insert the piece of cardboard in the window. Mine was such a snug fit that it stayed in place on its own. If yours is loose, you can tape or screw the cardboard in place.
11. I leaned mine against the wall, but you could also hang it vertically or horizontally with two keyhole fasteners. Hang from a stud or use a drywall anchors or molly bolts.

Share this story
Reader Gallery
Made this project? Email your photo(s) to monica (at) craftynest (dot) com, and I’ll share your version here!

This DIY shadowbox frame looks brilliant, and I want to thank the person who had the idea to use this salvaged window to create this frame. It’s one of the best things I’ve seen.