
DIY paper lanterns: flowers or pom poms

I planned to make a flower-covered paper lantern for months. Not until I found a white poinsettia garland at a Michael’s after-Christmas clearance did it become a reality. Normally, I’m not a fan of artificial flowers, but I think this is a great way to use them. After making the floral paper lantern, I had some leftover pom-pom fringe, so I festooned the second lantern with pom poms. Now I can’t decide which one I like best. I bought these white 12-inch paper lanterns at Ikea years ago, but these and many other sizes and colors are available on Amazon. (This post contains affiliate links. If you use these links to buy something, I may earn a small commission. You can read my full disclosure here.)


How to make paper lanterns with flowers and pom poms
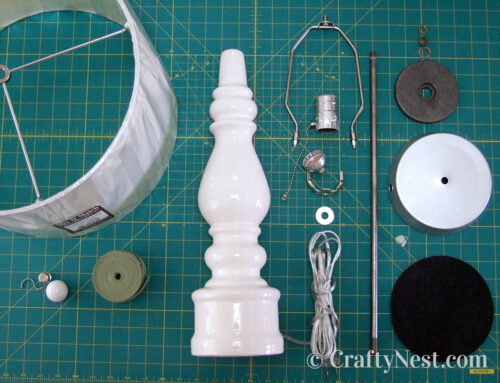
SUPPLIES & TOOLS
FLOWER-COVERED LANTERN INSTRUCTIONS

1. Start by removing the flowers from the garland, remove the plastic pieces, and tear the petals apart (some are hot glued together).

2. Then cut the pom poms off the fringe. You can also buy loose pom poms, but I liked these off-white ones better than the white ones they sell loose.

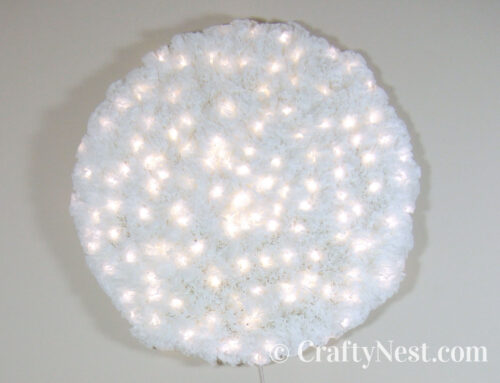
3. Hot glue the flowers and pom-pom centers onto the lantern. Glue them so they overlap to cover the entire paper surface. The garland I used provided just enough flowers for one 12-inch paper lantern. This one required two 4-foot spools of pom-pom fringe.

4. Insert the cord kit and hang from the ceiling. If you use an LED light bulb, you’ll never have to worry about the hot glue melting.
POM-POM LANTERN INSTRUCTIONS

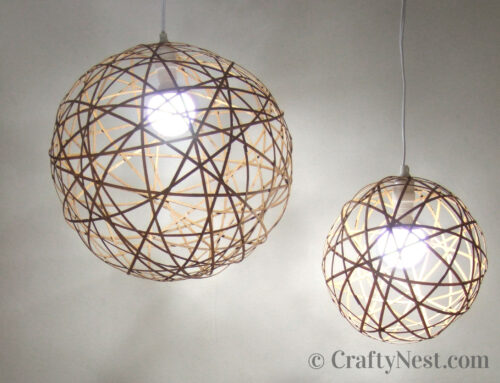
1. Apply a thin line of hot glue along the paper lantern’s ridges, a few inches at a time. Adhere the fringe to the glue, then repeat. DO NOT follow the ridge all the way around because the frame is constructed as a spiral, so your ends will never meet. So, when you get six or so inches from the end, start directing the line to connect to where you started. I spaced each line of pom poms six lines apart. This one required three 4-foot spools of pom-pom fringe.

2. Insert the cord kit and hang from the ceiling.

Share this story
Reader Gallery
Made this project? Email your photo(s) to monica (at) craftynest (dot) com, and I’ll share your version here!
Leave A Comment