
DIY furniture-nail clock with strap

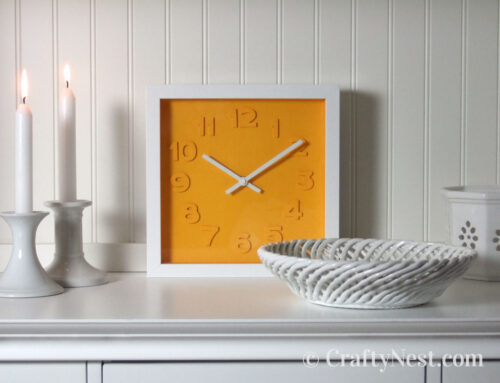
This is the easiest project I’ve attempted yet. It all started with an Ikea plant glide and furniture nails (which come in myriad colors and sizes). This clock is full of possibility. You could also glue on numbers or wood pieces, apply chalkboard paint, affix buttons, or just leave it au natural.

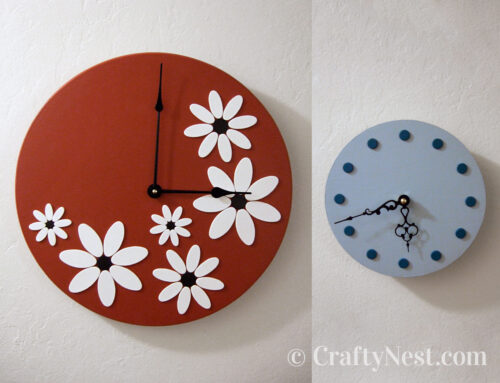
UPDATE 2/27/21: Originally this clock looked like it does in the picture below, hung on the wall on a nail just like any old clock. Then I was inspired by round mirrors with straps (like the ones below) that became popular several years ago.

I found some cotton webbing that matched the clock, attached it with a few more furniture tacks, and hung it on the wall from a drawer knob repurposed as a picture hanger. It’s hanging in the kids room now. Those matching blue elephant bookends were a serendipitous Facebook Marketplace find.

Below is how the clock was when I made it back in 2008. I made the china cabinet in the picture too.

How to make a furniture-nail clock
SUPPLIES
TOOLS
INSTRUCTIONS

1. Find the center: Start by tracing your plant glide onto your scrap piece of paper and cut it out. Fold it in half horizontally, unfold, then fold in half vertically. Your center is where the two folds meet. Poke a hole in the middle of the paper with your pencil, and mark the spot on your clock face. (I obviously did this after painting. Bad idea.) Save your paper circle for step 4.
2. Drill the hole in the spot where you marked, then lightly sand the whole face. Remove the dust with a vacuum or tack cloth.
3. Apply 1-2 coats of primer and let dry. Paint the clock face one color and the side another. To get a clean line where the two colors meet, brush toward the edge. Apply two coats of each. Let dry.

4. Using a protractor, mark 30-degree increments on your paper circle. Measure and mark each 30-degree segment 5 inches from the center. These marks are where you’ll place your furniture nails.

5. Place the paper circle on top of your clock face. Hammer a nail through the paper at each one of your twelve marks. Hammer only half-way down.

6. Gently tear off the paper, then hammer the nails all the way down.

7. Assemble your clock according to the instructions. You’ll find this picture and written instructions at Klockit. Then just insert the battery, set the time, and hang it on the wall.

8. Decide how long you want your strap to be. Mine is 22 inches long. My strapping material was too wide, so I folded it in half lengthwise and sewed it together at the edges. If you use a synthetic strap, you can melt the ends to keep it from fraying. Mine was cotton, so I sewed a zig-zag stitch at each end to keep it from fraying.
Hammer two furniture nails into each side of the clock to attach the strap. I pre-drilled my holes to make it easier, but it’s not necessary.

9. Screw a hanger bolt into your cabinet knob. Then pre-drill a hole in your wall where you want to hang your clock. Screw the other end of the hanger bolt into the wall, and hang your clock strap on the knob.

Share this story
Reader Gallery
Made this project? Email your photo(s) to monica (at) craftynest (dot) com, and I’ll share your version here!
Leave A Comment