
Camp craft: DIY duct tape wallets

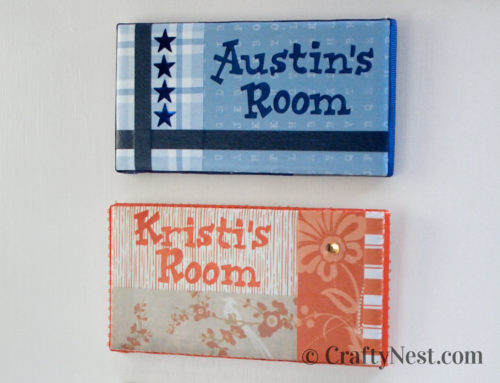
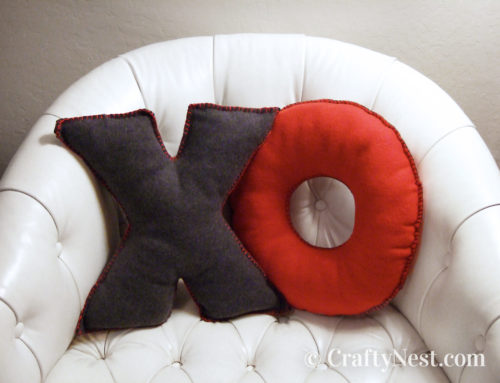
I volunteered as a crafts director at a girls camp last month. So, for the past few months, I’ve been preparing all the crafts and buying supplies for about 90 teenage girls to make cool stuff. I’ve kept the projects secret in case any of the girls read my blog, but now I’ll fill you in. These are the projects we made this year: duct tape wallets, resin pendant necklaces, alphabet fleece pillows, yo yo headbands and pins, door name plates, and paracord bracelets. I think the girls had as much fun making them as I did. And so can you because I’m going to share all the tutorials. (This post contains affiliate links. If you use these links to buy something, I may earn a small commission. You can read my full disclosure here.)

After girls camp, I needed a couple weeks to recover. Now I’m back. I planned to take lots of photos at camp, but instead I ended up spending every moment teaching the girls how to make duct tape wallets. By the end of the week, I was sick of duct tape wallets. But the girls loved them, so it was worth it. A friend sent me these photos that she took at camp. Those are my hands in the gray sweatshirt in the photo above.

The green tarp roof on the makeshift quonset hut that we called the Craft Shack made everything look green tinted. And the green tablecloths didn’t help either. It reminded me of the Mr. Big song “Green Tinted Sixties Mind.”

Anyway, duct tape wallets are certainly not a new thing, and I probably don’t need to tell many of you how to make one. But when I was searching for instructions online, I couldn’t find one easy-to-follow tutorial for a simple duct tape wallet. Plus, friends have asked me for the instructions for my wallet design. Though I developed this pattern myself, I’m told it’s not exactly original, but here it is. This wallet takes about 45 minutes to make.
How to make a duct tape wallet
SUPPLIES & TOOLS

MAIN FABRIC INSTRUCTIONS

1. Tear off four pieces of tape that are at least 9 inches long. (Don’t use scissors. Don’t use your knife. Rip it!) Place them sticky-side-up on your cutting surface. Stick them to each other (front-to-back), overlapping about ½ inch.

2. Tear off four more pieces the same length. Starting about ½ inch from the top, adhere one piece at a time (back-to-back). The last piece should overlap about ½ inch. (The reason you start ½-inch down is to stagger the thicker parts of the duct tape “fabric” you’re making. If you don’t, some parts of the fabric will be four layers thick, which is difficult to fold.)

3. Fold over the top and bottom edges. Your fabric should now be about 6 inches tall.

4. Using your ruler and knife, cut a clean edge on the left side. Always use your ruler when cutting with your knife.

5. Then measure 8 ½ inches and trim the other edge. Set aside.
CREDIT CARD POCKET INSTRUCTIONS

6. Tear off two pieces of tape about 5 inches long. Overlap them the same as step 1.

7. Tear off two more 5-inch pieces and adhere the same as step 2.

8. Fold over the top and bottom edges the same as step 3. This large pocket should be about 3 inches tall.

9. Using your ruler and knife, cut a clean edge on the left side.

10. Then measure 4 inches and trim the other edge. Set aside.

11. Tear off two pieces that are about 9 inches long. Stick them directly back-to-back.

12. Cut this double-sided piece into two 4-inch long pieces. These are your smaller pockets.

13. Tear off a 5-inch piece of tape. Rip it lengthwise down the middle. (Yes, I said rip it. Fast. You can do it. Don’t worry if it’s not exactly down the middle.)

14. Use two of the ripped pieces to make a top border on each of the small pockets. Tape the top edge, then fold over. Trim the excess.

15. Tear off a 4-inch piece of tape. Rip it lengthwise down the middle.

16. Stack the pockets on top of each other. Stagger the height of the two smaller ones evenly.

17. Place a credit card on top of the stacked pockets to make sure you leave enough space for your cards. Using one of your ripped pieces, tape the left side of your pockets right up to the edge of the credit card. Fold it over to the back side and trim the excess with your ruler and knife. Do not tape the right side yet.
ID WINDOW INSTRUCTIONS

18. Use another ripped piece to tape the right edge of your window. Fold it over and trim the excess. Do not tape any other edge yet. Set aside.
FINAL ASSEMBLY INSTRUCTIONS

19. Fold your main fabric in half lengthwise. Make sure the height of your pockets, window, and wallet are all the same height (3 inches). If not, trim them as necessary.

20. Unfold the main fabric. Place the window and pockets in opposite upper corners of your main fabric. Rip a 9-inch piece of tape lengthwise. Option 1: Use one piece to tape the top edge all the way across. Or option 2: Using your knife and ruler, cut one of the pieces in half endwise. Tape the window down, lining up the cut edge with the right side of the window. Then tape the pockets down, lining up the cut edge with the left side of the pockets. Trim off the excess.

21. Tear off another 4-inch piece of tape. Rip it lengthwise down the middle.

22. Refold your main fabric. Place a credit card on top of the pockets. Using one of the ripped pieces, tape the right side of your wallet right up against the edge of your credit card. Fold it over the entire wallet. Trim the excess with your knife.

23. Tape the left edge (window side) of your wallet the same way. Trim the excess.

24. Following either option 1 or 2 in step 20, tape the bottom edge the same way. This piece will show on the outside of your wallet, so follow option 1 if you want a contrasting border. (You can cut out a notch on the inside, if you prefer.)

25. Fold your wallet in half endwise, then press it flat.

26. Add decoration with duct tape as desired. You’re done!

27. Load it with your money and cards or give it as a gift.

Share this story
Reader Gallery
Made this project? Email your photo(s) to monica (at) craftynest (dot) com, and I’ll share your version here!

How many rolls of duct tape would I need to have to make about 8 wallets? Thanks!
Hayley – Sorry, I don’t have the answer for you. I think it depends on how many colors/patterns you want to use. I’d say just a couple rolls for eight wallets.